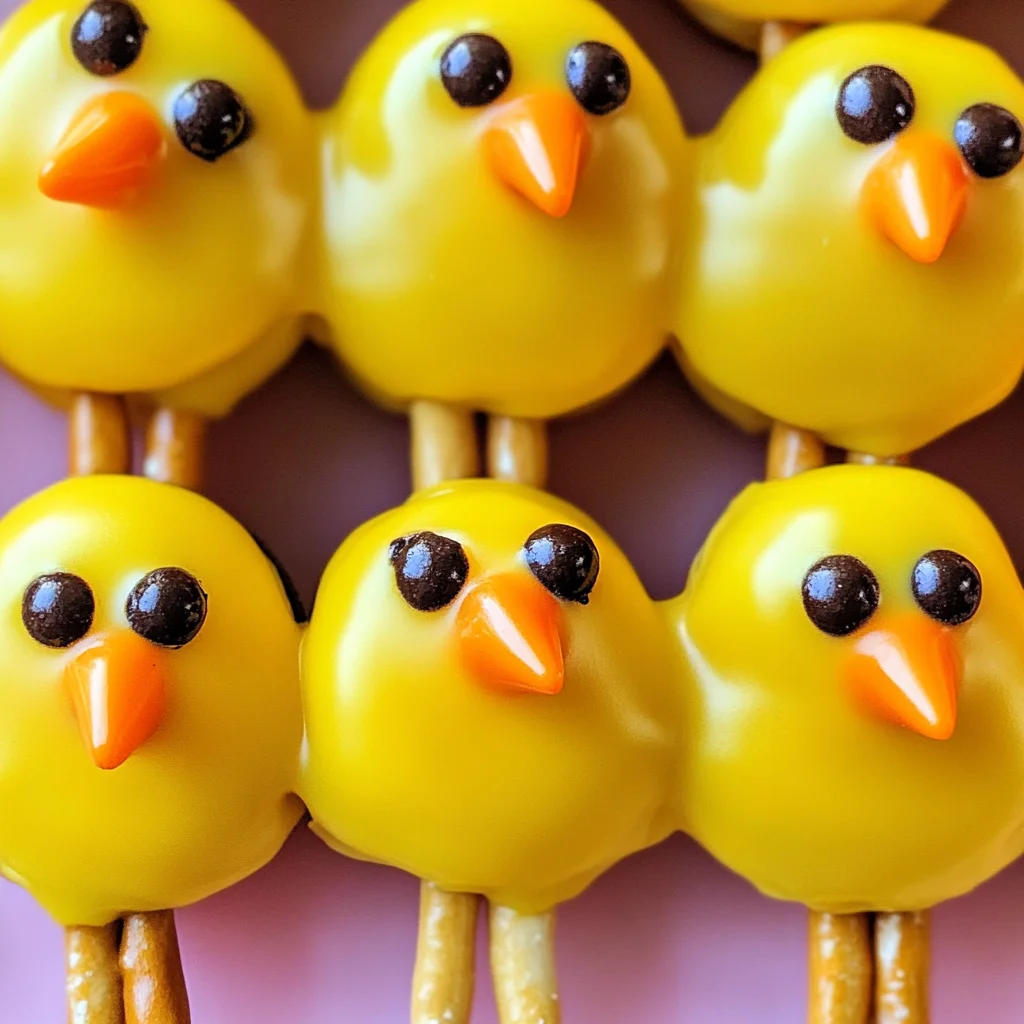
Oreo Easter Chicks are a delightful dessert that brings joy to any gathering. These charming treats transform classic Oreo cookies into whimsical little chicks using colorful yellow candy melts and crunchy pretzel legs. Perfect for Easter celebrations, kids’ parties, or simply as a fun activity in the kitchen, these Oreo Easter Chicks are sure to be a hit with both children and adults alike. Their vibrant colors and playful design make them stand out on any dessert table.
Why You’ll Love This Recipe
- Easy to Make: With just a few simple steps, you can create these adorable treats without any baking.
- Fun for All Ages: This recipe is perfect for kids and adults to enjoy together, making it a fantastic family activity.
- Customizable: Feel free to add your own twist, such as different colors or decorations for the chicks.
- Perfect for Celebrations: Ideal for Easter parties, school events, or just as a sweet treat at home.
- Deliciously Sweet: The combination of creamy Oreos and sweet candy melts creates a mouthwatering flavor that everyone will love.
Tools and Preparation
Before diving into the recipe, ensure you have the right tools on hand. These essential items will make the process smoother and more enjoyable.
Essential Tools and Equipment
- Baking sheet
- Wax paper
- Microwave-safe bowl
- Spoon or spatula
Importance of Each Tool
- Baking sheet: Provides a stable surface for setting your chicks once decorated.
- Wax paper: Prevents sticking and makes cleanup easy after dipping your Oreos in candy melts.
- Microwave-safe bowl: Allows you to melt the candy melts safely without risk of damage.
Ingredients
Oreo Easter Chicks are a super fun way to turn oreo cookies into a delicious Easter treat using yellow candy melts and pretzel sticks.
For the Chick Base
- 1-2 bags yellow candy melts
- 1 package double-stuff oreos
For Decoration
- Mini chocolate chips
- Thin pretzel rods (broken into short pieces)
- Orange decorating gel or orange candy melts
How to Make Oreo Easter Chicks
Step 1: Melt the Candy Melts
Melt yellow candy melts according to package directions. Place a piece of wax paper on a baking sheet while melting.
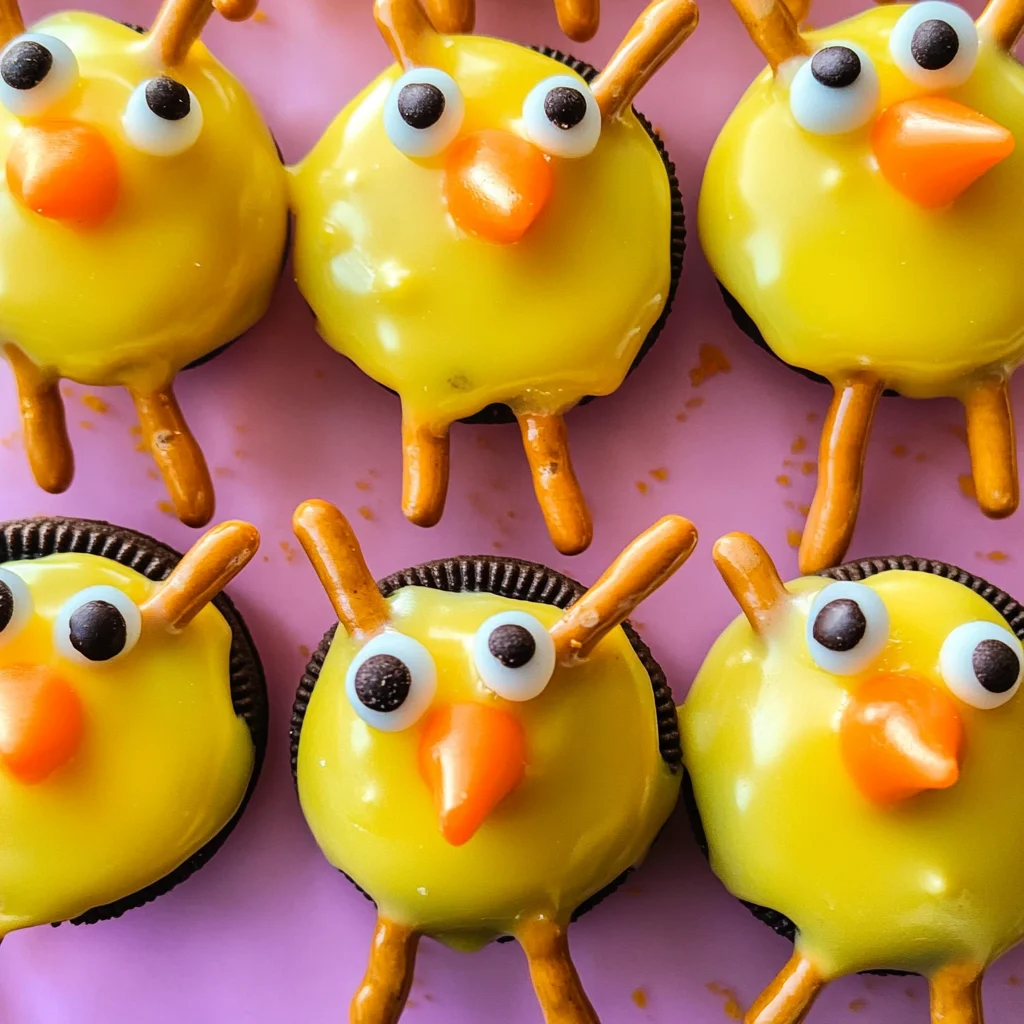
Step 2: Dip the Oreos
Dip each Oreo cookie into the melted yellow candy melts, ensuring they are completely covered.
* Place dipped Oreos on the wax paper.
* Quickly stick 2 pretzel pieces in each cookie for legs.
* Add 2 mini chocolate chips on top for eyes before the coating sets.
Step 3: Create Beaks
Use orange decorating gel or melted orange candy melts to form little beaks on each chick.
Step 4: Chill to Set
Place your completed Oreo Easter Chicks in the refrigerator until everything is set firm. Enjoy your festive treats!
How to Serve Oreo Easter Chicks
Oreo Easter Chicks are a delightful treat perfect for any festive gathering. These charming little desserts can be served in various fun ways to impress your guests and enhance your Easter celebrations.
Individual Treats
- Serve each Oreo Easter Chick in mini cupcake liners for a cute presentation.
- Place them on a colorful platter to create an eye-catching dessert table.
With Themed Drinks
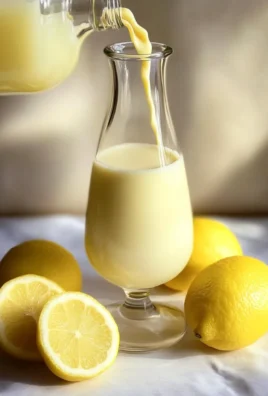
- Pair these treats with fruity mocktails or lemonades for a refreshing contrast.
- Offer chocolate milk as a nostalgic option that kids will love.
On Dessert Tables
- Include Oreo Easter Chicks as part of a larger dessert spread alongside other themed treats like cupcakes and cookies.
- Decorate the table with spring flowers and pastel colors to match the festive spirit.
As Party Favors
- Package individual Oreo Easter Chicks in clear bags tied with pastel ribbons for guests to take home.
- Add personalized tags for an extra special touch.
How to Perfect Oreo Easter Chicks
Creating the perfect Oreo Easter Chicks takes just a bit of attention to detail. Here are some tips to elevate your chick-making game.
- Use fresh ingredients: Ensure your candy melts and Oreos are fresh for the best flavor and texture.
- Melt candy carefully: Melt the yellow candy melts gently, either in the microwave or using a double boiler, to avoid scorching.
- Work quickly: Once you’ve dipped the Oreos, work promptly to add pretzel legs and mini chocolate chip eyes while the candy is still wet.
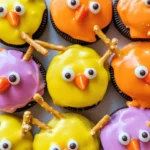
- Experiment with colors: Feel free to use different colors of candy melts for unique variations of Oreo Easter Chicks.
- Chill before serving: Refrigerate the finished chicks until set; this helps them hold their shape better when served.
Best Side Dishes for Oreo Easter Chicks
Pairing side dishes with your Oreo Easter Chicks can create a well-rounded snack experience. Here are some delightful options:
-
Fresh Fruit Salad
A mix of seasonal fruits adds freshness and balances out the sweetness of the chicks. -
Veggie Platter
Crisp vegetables served with hummus or ranch dip offer a healthy contrast. -
Mini Sandwiches
Bite-sized sandwiches made with turkey or chicken provide heartiness alongside sweet treats. -
Cheese Board
A selection of cheeses with crackers can complement the richness of the dessert. -
Carrot Sticks with Dip
These add a fun crunch while sticking to an Easter theme that resonates with bunnies! -
Potato Chips
The salty crunch is perfect for balancing out the sweetness of your chicks. -
Chocolate-Covered Pretzels
A sweet-savory option that echoes the pretzel legs of your chicks while adding variety. -
Lemonade Cupcakes
Bright and tangy cupcakes can enhance your dessert spread while keeping things festive.
Common Mistakes to Avoid
Making Oreo Easter Chicks can be a delightful experience, but there are some common pitfalls to watch out for.
- Bold melting technique: Not melting the candy melts properly can lead to clumps. Always follow package directions for best results.
- Bold over-dipping: Dipping Oreos too long may cause excess candy melt to drip off. A quick dip ensures an even coating without wastage.
- Bold skipping the setting phase: Neglecting to refrigerate can result in messy decorations. Setting them helps everything adhere and maintain shape.
- Bold ignoring decoration timing: Adding decorations too late can lead to them sliding off. Work quickly after dipping while the candy is still wet.
- Bold using the wrong colors: Using non-Easter colors might make your chicks less festive. Stick with bright yellows and oranges for that cheerful look.
Storage & Reheating Instructions
Refrigerator Storage
- Store in an airtight container.
- Keep in the fridge for up to 1 week for optimal freshness.
Freezing Oreo Easter Chicks
- Place in a single layer on a baking sheet until frozen, then transfer to an airtight container.
- Can be frozen for up to 2 months; just allow them to thaw at room temperature before serving.
Reheating Oreo Easter Chicks
- Oven: Preheat to 350°F (175°C), place on a baking sheet, and warm for about 5-7 minutes.
- Microwave: Heat on low power for 10-15 seconds at a time until warmed through. Be cautious not to melt the chocolate decorations.
- Stovetop: Use a non-stick pan over low heat, turning gently until they warm up.
Frequently Asked Questions
Here are some common questions about making Oreo Easter Chicks.
What are Oreo Easter Chicks?
Oreo Easter Chicks are a fun and creative treat made by coating Oreos in yellow candy melts and decorating them like little chicks.
Can I customize my Oreo Easter Chicks?
Absolutely! You can use different colors of candy melts or add other decorative elements like sprinkles or edible glitter.
How long does it take to make Oreo Easter Chicks?
The entire process takes about 20 minutes, making it a quick and enjoyable activity.
Can I use other cookies instead of Oreos?
Yes! Feel free to experiment with other sandwich cookies if you prefer different flavors or textures.
Final Thoughts
Oreo Easter Chicks are not only visually appealing but also incredibly versatile. They offer endless customization options, allowing you to get creative with colors and decorations. Give this fun recipe a try for your next celebration!
Oreo Easter Chicks
Oreo Easter Chicks are a delightful no-bake treat that brings whimsy to your holiday celebrations. These charming little chicks are crafted by dipping double-stuffed Oreos into vibrant yellow candy melts, then adorned with crunchy pretzel legs and cute mini chocolate chip eyes. Perfect for family gatherings or as a fun kitchen activity with kids, these playful snacks are bound to impress guests of all ages. Not only do they look adorable on any dessert table, but the combination of creamy Oreos and sweet candy creates a mouthwatering flavor that everyone will love. Easy to make and endlessly customizable, Oreo Easter Chicks are the ultimate festive treat for springtime festivities.
- Prep Time: 10 minutes
- Cook Time: 10 minutes
- Total Time: 20 minutes
- Yield: Makes approximately 12 Oreo Easter Chicks 1x
- Category: Dessert
- Method: No-Bake
- Cuisine: American
Ingredients
- 1–2 bags yellow candy melts
- 1 package double-stuff Oreos
- Mini chocolate chips
- Thin pretzel rods (broken into short pieces)
- Orange decorating gel or orange candy melts
Instructions
- Melt yellow candy melts according to package directions.
- Dip each Oreo into the melted candy, covering completely.
- Place dipped Oreos on wax paper and quickly stick 2 pretzel pieces in each for legs.
- Add mini chocolate chips for eyes before the coating sets.
- Use orange decorating gel or melted orange candy melts to create beaks.
- Refrigerate until set.
Nutrition
- Serving Size: 1 chick (45g)
- Calories: 180
- Sugar: 16g
- Sodium: 40mg
- Fat: 8g
- Saturated Fat: 4g
- Unsaturated Fat: 4g
- Trans Fat: 0g
- Carbohydrates: 25g
- Fiber: 1g
- Protein: 1g
- Cholesterol: 0mg
Leave a Comment